Monday, 15 February 2016

Dior Presentation to Kat and class

My Powerpoint Presentation 

Within the lesson of the 15th of February i was asked to present a powerpoint presentation in front of my class about my chosen brand and what initial ideas i have for my editorial, advertisement and catwalk shoots. Although i find this nerve wracking as i feel i am not a good speaker this is good practise to bring up my confidence levels and share any ideas and inspiration to and from the class.


Tuesday, 9 February 2016

Adding accessories into hair!

Adding accessories into hair


I feel accessories can change the hairstyle completely. Accessories can help giving of an elegant classy look using clips and pearls or can make the look colourful using ribbons. I decided to use a variety of accessories into the hair and experiment with which ones look best and the placing. 

Equipment needed - 
1) Pintail comb
2) Sectioning clips
3) Booby pins and hair bands
4) Waterspray
5) Accessories

To begin i created a chignon up do. 
1)I started by section the front section of hair and bringing it down the side of the head by creating a braid to join at the back.
2)I then used my waterspray bottle and the top half of the head and smoothed down with a pintail comb and pinned into place using bobby pins until the hair was secure. 
3)Afterwards i curled the bottom half of the hair around my fingers to create a loop using the pintail comb and pinned and hairspray into place. 
4) Finally it was time to add the accessories. 

My final images - 

Butterfly clip - 


Star clip - 


Diamond clips - 


Heart clips - 


Overall i loved creating this hairstyle and enjoyed experiment with all the different accessories. I would definitely like to try again with ribbons and jewels. I had never created a chignon before and am pleased with the way it came out. It was interesting to see how each assessory changed the look and i personally felt the diamond and stars came out the best. I loved these accessories as i feel they really made the hairstyle pop.


Wednesday, 3 February 2016

Catwalk Contour

Catwalk Contour - 


In todays lesson we were taught how to contour the face and where to create shadows and highlights on the face.


1) Blush: Colour and texture (liquid, cream or powder) different tones and additional shimmer bricks. 
2) Highlighting: Powders, liquids, creams or using a lighter concealer.
Cheekbones/lips/eyes/nose/brow bone/inner eye - contouring naturally - light pushes forward, ass to where the natural light hits the face. Not too much but just enough to enhance and bring out the natural shades. 
3) Bronzers: Creams and or powders
4) Mixing products: To get your desired look and to get the product wanted e.g. dabbing lipgloss or mixing eyeliner or powder to a moisturiser to create a cream contour or bronzer.
5) Powders: Use a translucent for a real matt effect. To create a dewy look, finish areas of the face with light dusting, the face should already be highlighted. Assess the end and compliment the finish. 
6) Look closely at the different elements of shine and glow and creating different looks with different powders. 

My contour done on my classmate Maddy


As you can see from the photographs above i have highlighted all areas of face which bring a natural glow.I have put highlighter above the cheek bone, above the brow and down the spine of the nose. For a darker contour i have used bronzer on the cheek bones, top of the forehead and each side of the nose to make the nose appear to be slimmer and longer. I found finding a image to help guide me was very useful so i could understand what shades go where to help bring the desired look i wanted. 

Matte/Dewy Face

A Clean Catwalk face - Matte/Dewy Foundation 


To receive a healthy looking skin you must moisturise and apply face masks as often as possible to remove any oils and dirt that may linger onto the skin. This will help prep the skin for any makeup and achieve a soft canvas.

If you have oily skin your face can achieve a lovely dewy finish. To receive a glow mix a matte foundation with a highlighter or luminous liquid. I used benefit 'girl meets pearl' to create my dewy look. This product is a pearl lumber which features light reflecting pigments which helps give a dewy glow. 

Within this lesson we are told to experiment with the different dampness of brushes or sponges. 

1) Using a damp brush or sponge helps blend the product into the skin. 

2) Using a moisturiser and toner will add an extra glow to the skin 

3) Prime the skin to build an even canvas. For a matte look use a matte primer

4)  Apply foundation over the face if you want a whole look or place the foundation over the forehead  and centre of the face for a more flawless finish

5) Conceal any areas of imperfections of the skin


My dewy look - 


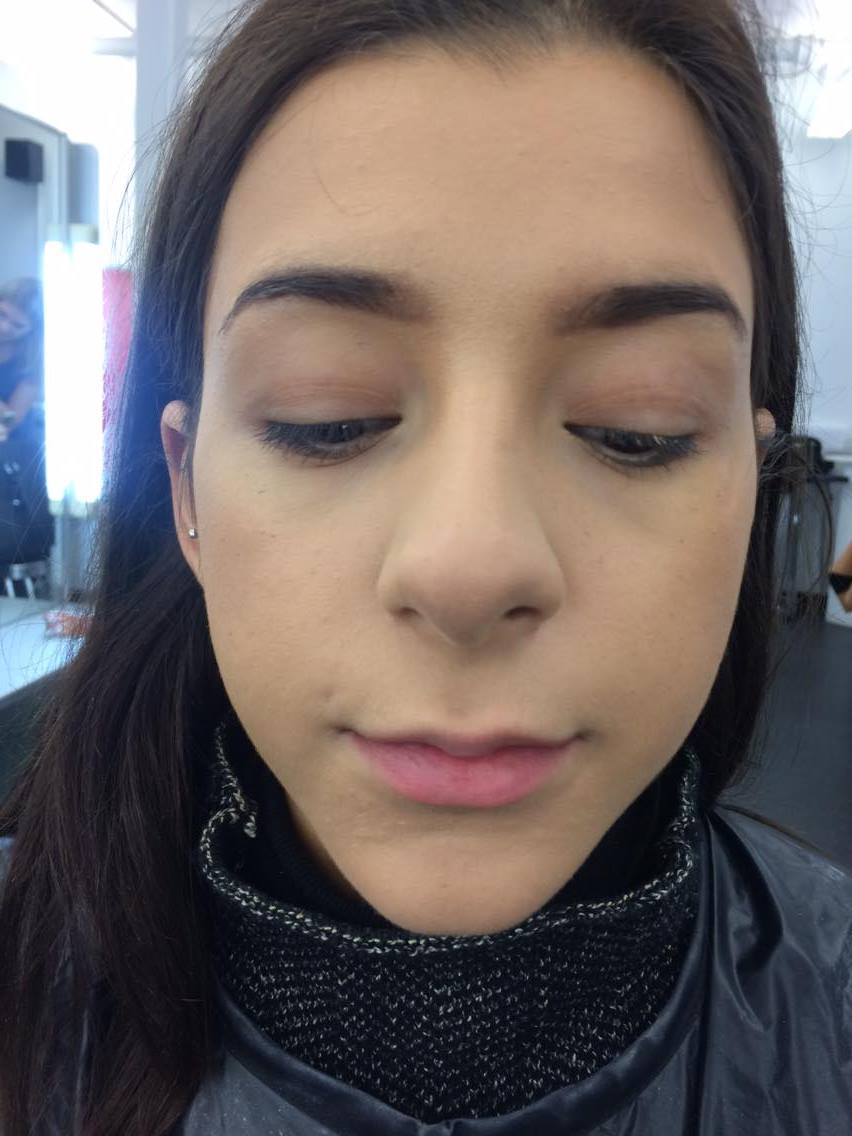
Above i have include images of the final dewy look created in class. To create a dewy look, after i had primed and moisturised the skin i added a liquid foundation to add a glow. I then used a liquid bronzer and my benefit pearl to enhance any natural shadows and highlights. I added the highlights to the nose bone, forehead above the eyebrows, onto the cheeks and top of chin.  I feel that this look came out dewy however my feedback to myself is to make sure i take my time with blending and make sure any brush strokes are not visible.

My Matte look -


This is the outcome for the matte look. For this look instead of using liquid based products i focused on using any matte products and powder products to remove any glow. To create this look i applied matte foundation and used a natural pressed powder to remove any glow, i then used a powdered bronzer to add definition to the cheekbones to bring out the natural shadows. Once i was finished and happy with the look i added a translucent powder to remove any shine. 

Monday, 1 February 2016

Photography Technical File - Simon

Lesson 1 - 

Lesson Objective -

1) - Looking at beauty daylight and the different types of soft lighting using:
  • A Beauty Dish
  • Soft Box
  • Bounce lighting

2) How to measure the brightness of light using a light metre. Levels of exposure and position of lighting

List of equipment needed:
  • Lighting stand 
  • Modelling lamp
  • Beauty dish
  • Light metre
  • Sync Lead
  • Power cable
  • Soft Box
  • Bounce Lighting
  • Flash Head
Understanding how to use a light metre-
Power button>mode(purple button)x4 modes(flash, flash, sun, sun).
The mode we want to be using is FlashC
ISO = 100
White button closed unless outside


Beauty Disk - 

Set up -


Our Beauty Disk - 


Final Result 


Soft Box - 

Set up - 


Our Soft Box - 


Final Result 


Bounce Lighting - 

Set Up -


Our Bounce Lighting -


Lotties Technical File - Blow Dry!

Blow Dry! - Creating volume!

One the best ways to create volume is using a hairdryer. Voluminous hair is very popular in the 21st century and is reasonably easy to do.

To create voluminous hair using a hairdryer you will need:
Waterspray
Heat protectant
Pintail comb
Large brush
Sectioning clips
Curling tongs
Hairspray

1) To create a voluminous look the very first thing you need to do is make sure the hair is nice and clean. You can either use a water spray to damp the hair or give your head a good thorough wash. 

2) Secondly semi dry the hair using a hairdryer so the hair isn't completely wet and start to section the hair.

3) Making sure a novel is attached to the hairdryer start from the top of the head and place brush a section of hair. Dry this section of hair from underneath at the roots and work your way down, this helps to create lift. 

4) As you go make sure you keep your hairdryer going the same direction as the hair and slightly moving the brush as you go. This will help prevent any flyaways.

5) Work up to the top of the head until you reach the crown alway smacking sure your hairdryer is pointing up underneath the hair to make a lift.

6) To create even more volume you can use a curling iron to loosely curl the ends. 

7) Finally set and finish the hair with a spray of hairspray to keep the hair looking smooth  and slick.


Before!


After!